.png)

.png)


How to Prepare Your Garden Tools for the Season and Keep Your Plants Healthy
Getting your garden tools ready for spring – sharpening secateurs, shears, and tool maintenance with ADEMS
One dull pruner – and your entire garden is at risk.
In March, when snow still covers the ground, gardeners are already browsing plant catalogues, sketching out bed layouts, and mentally pruning the apple tree that ran wild last year. Plans are made for ten acres and two lifetimes ahead.
Then April arrives. You open the shed, take out your secateurs, squeeze the handles – and instead of a clean snip, you hear a crunch. The blades don't cut – they crush the branch, leaving a torn, splintered wound. Through this opening, fungal spores, bacteria, and viruses enter the plant's tissue. The tree starts to suffer. Not immediately – but in a month or two, by mid-summer. And the gardener blames the weather, the variety, the soil – anything but that dull pruner from the shed.
Preparing your garden tools for the season isn't optional. It's the first thing every gardener should do before touching a single branch. This guide is about doing it right: what to put in order, how to sharpen, what to lubricate, and when it's time to stop reviving and buy new.
Why Dull Tools Aren't Just Inconvenient – They're Dangerous for Your Garden
Before diving into instructions, let's understand the biology. This matters because grasping the consequences turns "well, I should probably sharpen it" into "I'm doing this right now."
What Happens to a Branch with a Clean Cut
A sharp pruner severs plant tissue cleanly. Cells at the cut edge remain intact. The cambium – the thin layer of growth cells beneath the bark – immediately begins its healing work. The wound closes with callus tissue (the plant equivalent of a scar) within days. Infection risk is minimal.
What Happens with a Ragged Cut
A dull blade doesn't cut – it crushes, mashes, and tears tissue. Fibers are splintered. The damage area increases three to five times compared to a clean cut. Cells around the wound are destroyed – the cambium has nothing to "grab onto," healing slows down.
Then comes the chain reaction:
● An open wound is an entry gate for infection. Spores of moniliosis, cytosporosis, black canker enter the tissue directly.
● Delayed healing means the wound stays wet, attracts pests, and starts to rot.
● Branch dieback – if damage is severe, the branch dries from the cut downwards. The gardener sees this in summer and wonders: "But I pruned correctly!"
● Systemic infection – through the ragged wound, infection enters the tree's vascular system. The result isn't one sick branch, but a sick tree.
The Scale of the Problem
During spring pruning of an average fruit garden (10-15 trees, shrubs, vines), a gardener makes between 200 and 500 cuts. If every one of them is ragged, the garden receives two to five hundred open wounds in a single day. That's not pruning – it's sabotage.
The bottom line: sharpening secateurs and garden shears isn't about the gardener's convenience. It's about plant health. Every ragged cut is a potential disease epicentre that could cost you a tree.
The Complete Checklist: What Tools Need Pre-Season Preparation
Garden tool maintenance starts with an audit. Take everything out, lay it on your workbench or table, and sort it.
Cutting Tools (Require Sharpening)
● Secateurs (Pruners) – the primary pruning tool. Almost every gardener has them, they're used most often, and they dull fastest.
● Loppers – secateurs on long handles for thick branches. Sharpening principle is the same.
● Garden Shears – for hedge trimming, shaping shrubs, topiary.
● Pruning Saw – for branches over 3 cm in diameter.
● Grafting / Budding Knife – for grafting, cleaning cuts, bark removal. Requires razor sharpness.
● Grass Shears – for lawn edges, borders, hard-to-reach spots.
Digging & Cultivating Tools (Require Sharpening & Dressing)
● Spade – yes, spades need sharpening too. A sharp spade enters the ground much more easily.
● Hoe – a dull hoe slides over the soil instead of cutting weeds.
● Axe – for chopping branches, preparing stakes, rough work.
● Scythe / Sickle – if you use them for mowing.
Auxiliary Tools (Require Maintenance, Not Sharpening)
● Rake – check tine attachment, straighten bent ones.
● Pitchfork – check handle and tines.
● Watering Cans, Sprayers – clean, check nozzles, replace washers.
● Wheelbarrow – lubricate the wheel, check fasteners.
Step-by-Step Guide: Preparing Your Garden Tools for Spring
Now for the specific algorithm. We'll go from general to specific: first, the basic maintenance that applies to any tool, then sharpening by category.
Step 1. Cleaning
Why: Over winter, tools accumulate dirt, dried plant sap, and rust. All this prevents you from assessing their true condition and clogs mechanisms.
How to do it:
1. Soak metal parts in warm water with dish soap for 20-30 minutes.
2. Remove dirt and dried sap with a stiff brush (a wire brush or Scotch-Brite pad works).
3. For rust removal, use sandpaper (grit 200-400) or a special rust converter.
4. Dry the tool completely. Moisture is enemy number one.
Pro tip: Dried tree sap is easily removed with alcohol or WD-40. Apply, wait a few minutes, wipe with a rag.
Step 2. Inspection and Diagnosis
What to look for:
● Blades – chips, dents, "waves" on the edge, significant wear. If the blade is worn down by more than a third of its original width – it's time to replace the tool.
● Secateur spring – is it loose or deformed? A weak spring means the pruner doesn't open fully, requiring extra effort.
● Pivot joint – play, sticking, wear. Play in the joint means the blades don't close tightly, leading to crushed branches instead of clean cuts.
● Handles – cracks, chips, loose fittings. Check wooden handles especially carefully: a crack in a spade or axe handle is a direct path to injury.
● Lock mechanism – does the latch that holds the pruner closed work?
Decision: Make two lists – "to sharpen" and "to replace." Tools with critical wear, cracks in the metal, or broken mechanisms aren't worth reviving – cheaper and safer to buy new.
Step 3. Sharpening
This is the main event. We'll break it down by tool type.
Sharpening Garden Tools: Basic Rules and Recommendations
Sharpening Secateurs
There are several types of secateurs, each with its own features. In most models, the main cutting blade does the work and needs sharpening. The other part of the mechanism serves as an anvil or support and should remain flat and smooth.
When sharpening, it's crucial to maintain the blade's original factory angle and not remove excess metal. Usually, carefully restoring the cutting edge and removing any burrs is sufficient.
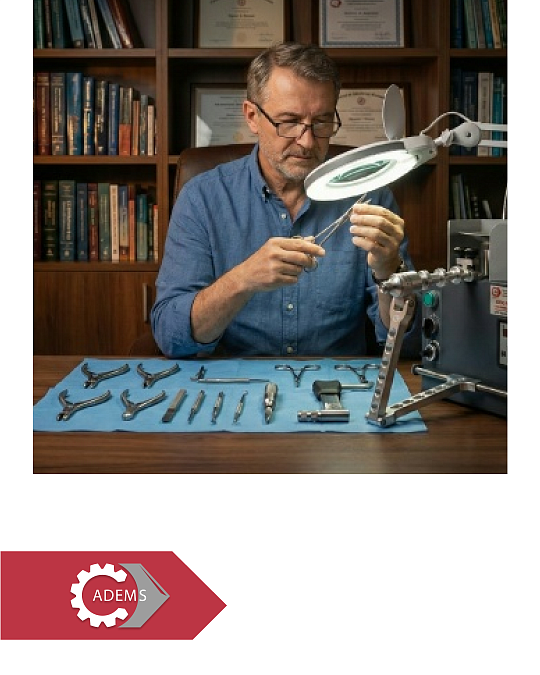
Sharpening can be done manually with a whetstone or on a specialized machine. The manual method is fine for occasional maintenance of a single tool. But if you have several pruners or work regularly in the garden, a machine significantly speeds up the process and provides more accurate results.
Sharpening Garden Shears
Garden shears are used for trimming shrubs, hedges, and tending ornamental plants. Their long blades require especially even sharpening.
Unlike secateurs, both blades work, so it's important to maintain consistent sharpness along the entire cutting edge. After sharpening, the shears should close easily and evenly, without catching.
You can test sharpness simply: the tool should cleanly cut thin paper or soft shoots without ragged edges.
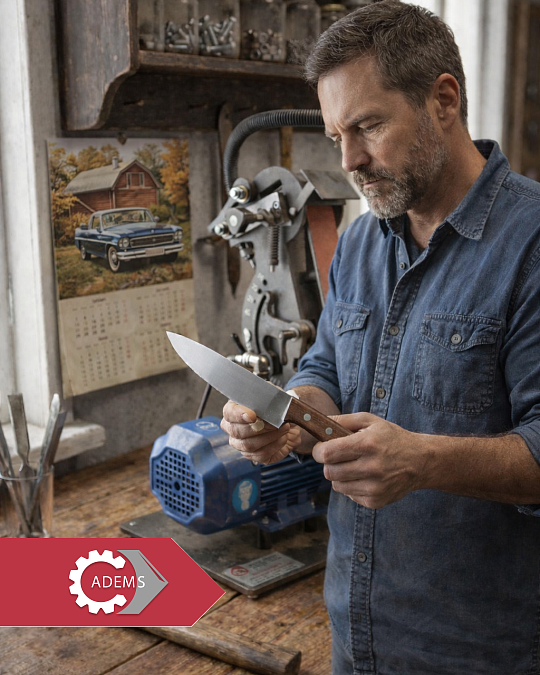
Sharpening Garden Knives
Garden knives are used for precise tasks – like grafting or cleaning bark damage.
These knives have particularly high sharpness requirements. The blade must be very fine and carefully honed to execute clean, precise cuts.
Do Spades and Hoes Need Sharpening?
Many gardeners don't think about sharpening these tools. But a sharp spade or hoe makes work significantly easier.
A well-sharpened spade enters the soil more easily, requiring less effort for digging. A hoe with a restored edge cuts weeds more effectively, allowing faster bed cultivation.
In most cases, simply restoring the working edge and removing damage is sufficient – you don't need a razor-sharp edge.
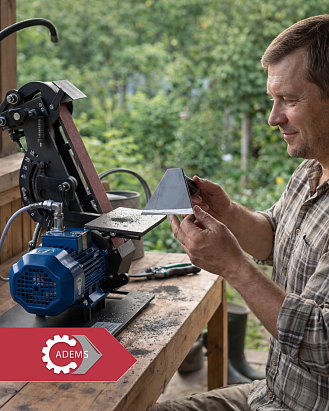
Manual Sharpening vs. Machine
For occasional maintenance of one or two tools, manual sharpening is fine. But if you have many tools or need regular care, a specialized sharpening machine is more convenient.
A machine allows you to:
● maintain a consistent sharpening angle
● work faster
● process the entire cutting edge evenly
● service different types of tools
Modern sharpening machines are manufactured by, for example, ADEMS International.
Such equipment helps achieve professional results and greatly simplifies garden tool maintenance.
Step 4. Rust Prevention and Preservation
After sharpening, each tool needs protection from corrosion. This takes five minutes but extends service life for years.
Metal Parts
● Wipe dry thoroughly.
● Apply a thin layer of protective oil (machine oil, gun oil, or special garden tool oil). WD-40 can be used, but note it's a water displacer, not a long-term protectant. For storage, camellia oil or food-grade mineral oil (if the tool contacts plants) is better.
● For long-term storage – wrap in an oiled rag.
Wooden Handles
● Sand smooth (240-320 grit).
● Soak with linseed oil (two or three coats, letting it dry between applications). Boiled linseed oil is a budget alternative, but raw linseed oil penetrates deeper and feels nicer.
● Do not varnish! Varnish creates a slippery film – the handle will slip in your hands.
Springs and Mechanisms
● Apply a drop of oil to every joint, spring, and adjustment screw.
● Work the mechanism a few times to distribute the oil.
Disinfection: What Almost Everyone Forgets
Here's another critically important step that even experienced gardeners miss.
Why Disinfect Garden Tools
Infection spreads from plant to plant via a pruner blade just as surely as it spreads from patient to patient via a non-sterile scalpel.
You prune a branch from an apple tree with fire blight. Bacteria remain on the blade. Your next cut is on a healthy pear tree. That's it – the pear is infected.
When Manual Sharpening Isn't Enough
Hand sharpening with a stone works for most situations. But there are cases where you need a machine:
● Severe chips and edge damage. Fixing a chip by hand is long, difficult, and without experience you can ruin the blade's geometry. A machine removes damaged metal evenly and quickly.
● Large volume of tools. If you have ten pruners, plus shears, knives, loppers – manual sharpening becomes hours of work. A machine cuts that time dramatically.
● Need for precise angles. On a stone, you maintain the angle by "hand and eye." A machine fixes it mechanically. For garden knives, where a difference of two or three degrees is critical, this is essential.
● You sharpen for others too. If neighbours start bringing you their pruners (and that happens quickly once you show good results), a machine turns a hobby into a service, and a service into extra income.
The ADEMS website features machines suitable for sharpening garden tools – compact models for home use with professional-level capabilities. Managers can help you choose the best option for your needs – contact us.
Conclusion: Sharp Tools – Healthy Garden
Preparing your garden tools for spring isn't a tedious chore on a "should do but can't be bothered" list. It's the first act of care for your garden in the new season. An act that determines whether your plants will be healthy or spend the summer healing wounds inflicted by dull pruners.
Prepare your tools properly – and your garden will reward you with a bountiful harvest.
Sharpening equipment and consumables for garden and household tools – in the ADEMS catalogue. We'll help you find the right machine for your tasksOther ADEMS news